| Name | Image |
| SnowyRedCedar.jpg | 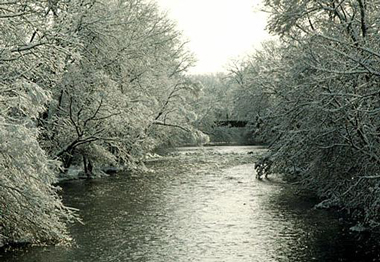 |
| VaTechDuckPond.jpg | 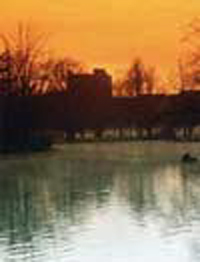 |
| VaTechPylons.jpg |  |
A Timed Slide Show
| Developing a Slide Show.
Now we will make use of our little timing functions and buttons to
develop a little slide show. This is nothing at all complicated,
but it makes use of a lot of things we have done so far this semester.
The first thing you need to do is copy the following images into an images subfolder. |
| Name | Image |
| SnowyRedCedar.jpg | |
| VaTechDuckPond.jpg | |
| VaTechPylons.jpg | |
| Now you need to copy the following code into a file called TimedSlideShow.html. |
| <html> <head> <title>A Timed Slide Show</title> <script language="JavaScript"> var the_images = new Array(); the_images[0] = new Image(); the_images[0].src = "images/SnowyRedCedar.jpg"; the_images[1] = new Image(); the_images[1].src = "images/VaTechDuckPond.jpg"; the_images[2] = new Image(); the_images[2].src = "images/VaTechPylons.jpg"; var the_timeout; var index = 0; function cycleImage() { window.document.my_image.src = the_images[index].src; index++; if (index >= the_images.length) { index = 0; } the_timeout = setTimeout("cycleImage();", 1000); } </script> </head> <body bgColor="003838" text="cccccc"> <center> <img name="my_image" src="images/SnowyRedCedar.jpg"> </center> <form> <center> <input type="button" value = "Start the Show" onClick="clearTimeout(the_timeout); cycleImage();"> <input type="button" value = "Stop the Show" onClick="clearTimeout(the_timeout);"> </center> </form> </center> </body> </html> |
| This program loads the path to each image within an
array. It then uses a loop to go through the array while changing
the image.src at each
iteration. The duration that the viewer sees each image is 1000
milliseconds. The program also includes the option to stop and
start the show.
When this is uploaded you should get something like the following. |
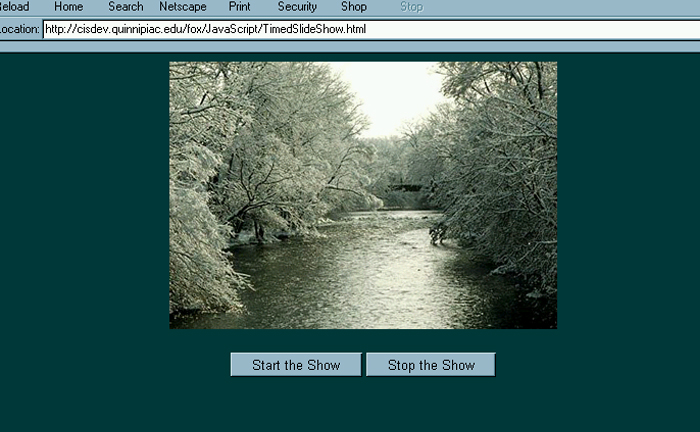
| Clicking on the buttons will cause the slide show to start and stop. |