
Image Map Basics
| Introduction.
Image maps are something you have almost surely used on the web, though
you may not be familiar with how to develop them. For example,
when you click on a state on a map and it connects you to another page
based on the image rather than a link with words you are likely making
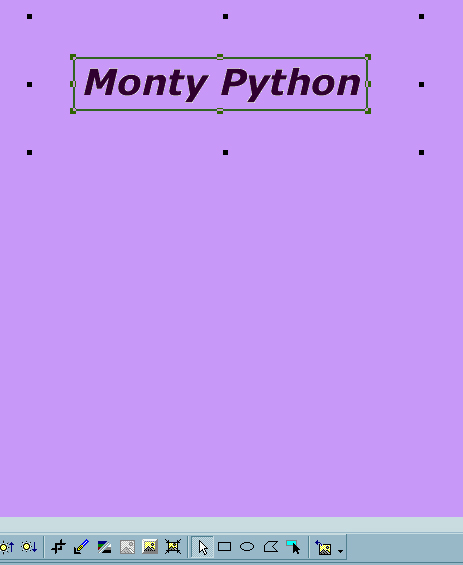
use of an image map or hotspot. In this page we will develop a simple image map. Consider the following image called MontyPython.gif. |
| This is actually an image of the words Monty Python
rather than text. It was developed with a transparent background
and converted into gif format.
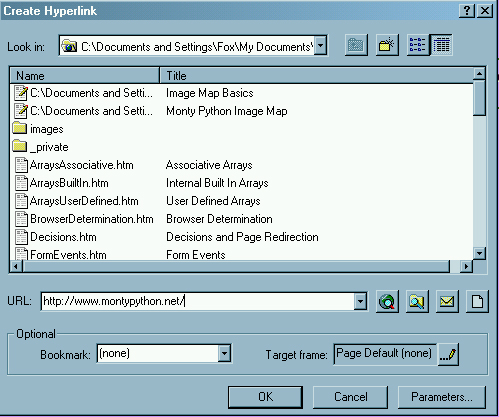
There are several ways to create a hotspot or image map. One of the easiest involves using FrontPage. This following image should help in developing some insight into how they can be created. |
The developer should
|
| The code associated with this page follows and should be called MontyPythonImageMap.html. |
| <html> <head> <title>Monty Python Image Map</title> </head> <body bgcolor="#CC99FF" link="#000066" vlink="#000066"> <p align="center"> </p> <p align="center"> <map name="MPIMap"> |
Notice where the image map is named and started and
completed. The
|