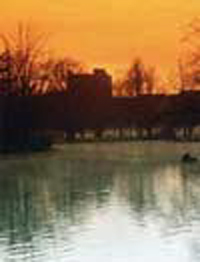
| VaTechPylons.jpg |
 |
| VaTechDuckPond.jpg |
 |
Frames and Image Swaps
| Introduction.
Previously, we developed image swaps as a prelude to developing
rollovers. Now we will develop image swaps where the links that
invoke the swap are in one frame and the images appear in another frame. You need to copy the following images. |
| VaTechPylons.jpg |
 |
| VaTechDuckPond.jpg |
 |
| This slightly different first page should be called ImageFrameset.html. |
| <html> <head> <title>Organizing Page for Image Swapping in Frames</title> </head> <frameset rows = "30%, *"> <frame src = "ImageNavigation.html" name="ImageNavigate"> <frame src = "ImagePage.html" name="ImageFrame"> </frameset> </html> |
| This is essentially the same as the previous organizing
page except we the frames are presented in rows rather than columns.
Now you need to develop the ImageNavigation.html which will appear on the top. |
| <html> <head> <title>The Navigation Page</title> </head> <body bgColor="222222" link = "aa0000" vlink="990000"> <a href="#" onClick="parent.ImageFrame.document.the_image.src = 'images/VaTechPylons.jpg'; return false;"><font size=4><b>Va Tech Pylons</b></font></a><P> <a href="#" onClick="parent.ImageFrame.document.the_image.src = 'images/VaTechDuckPond.jpg'; return false;"><font size=4><b>Va Tech Duck Pond</b></font></a> </body> </html> |
| When the user clicks on a link the image.src
changes, but it appears in the ImageFrame. This is the key aspect
of this exercise. It is important to notice the object
specification. The following HTML needs to be placed in ImagePage.html. |
| <html> <head> <title>The Page to Display the Images</title> </head> <body bgColor="222222"> <img src = "images/VaTechDuckPond.jpg" name="the_image"> </body> </html> |
| The initial image is of the Virginia Tech Duck Pond and
it is given the name "the_image". This name is important
for the image swap.
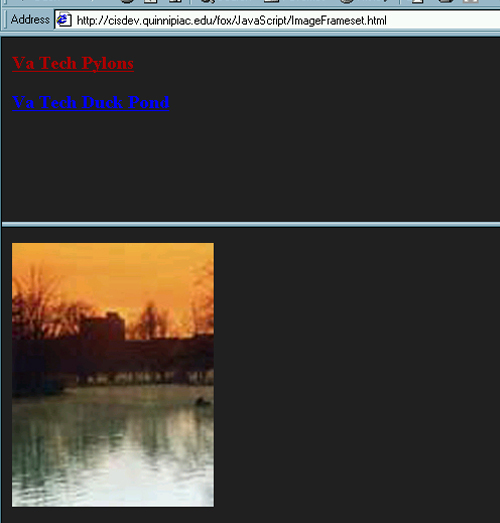
When you upload these pages and go to the ImageFrameset.html you should see something like the following. |

| Now you can swap the images by clicking on the links. |