|
Some Background. Now that we have led you through developing products.htm to organize the overall product presentation, you need to develop the pages for each individual product. The first thing that needs to be done is to make sure you have a page for each product. Due to the upper limit on the number of products in the wizard you need to add four. The pages you want to make sure you have are in the following table. You will need to copy each of the images into your web in order to use them. |
| Product Name | Web Page Filename | Large Image |
| Binoculars | prodBinos.htm |  |
| Giant Bow | prodBow.htm | |
| Harpoon | prodHarpoon.htm |  |
| Knife | prodKnife.htm |  |
| Magnet | prodMagnet.htm |
|
| Motorcycle | prodMoto.htm |  |
| Rocket | prodRocket.htm |  |
| Speedboat | prodSpeedboat.htm |
|
| Trapeze | prodTrapeze.htm |
|


Each of these pages should have
the
Remember, you want each of these individual products pages to open up in a new window so that several can be opened at the same time. You should use the image called SilverBrush.jpg and you should copy it into your web and use it as the background for all of the pages containing products and services. |

| Now we will create two of the
pages, then you will need to create the remaining pages on your own.
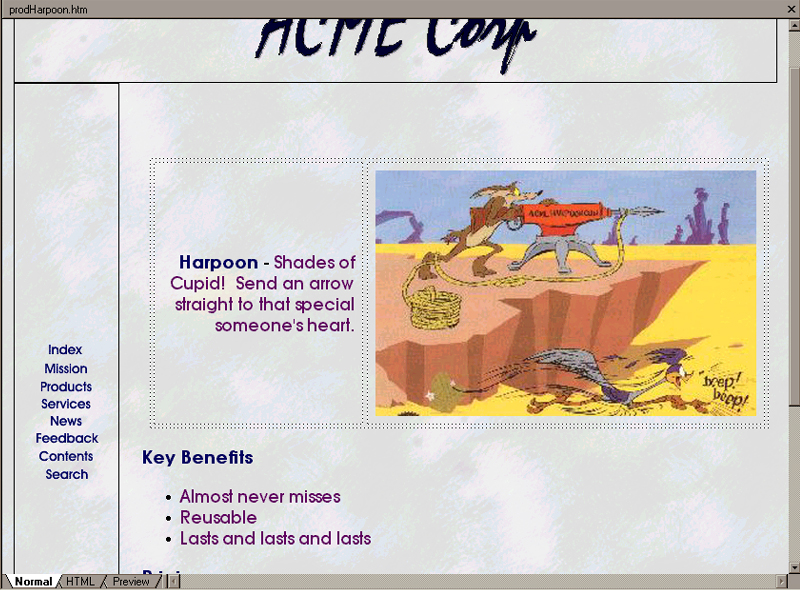
The Harpoon Product Page. Remember what you need in the prodHarpoon.htm page.
A major portion of your page should look like the following. |
|
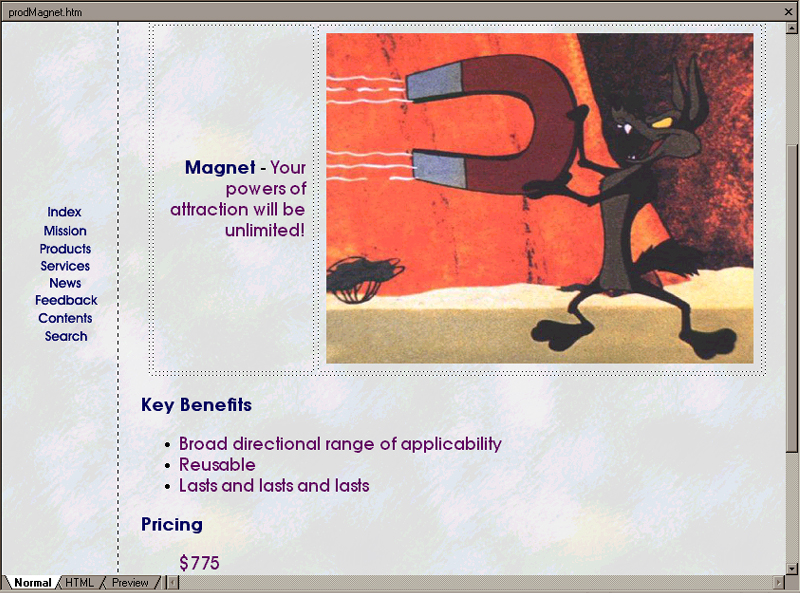
The Magnet Product Page. Remember what you need in the prodMagnet.htm page.
Hopefully, you see the pattern. A major portion of your page should look like the following. |
Creating
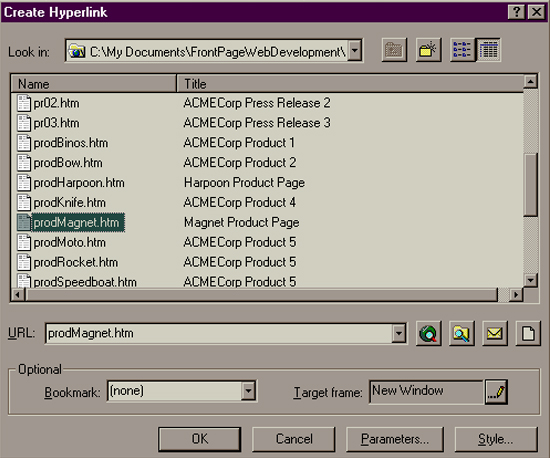
the Links. Now you need to create the links from the
Products page, products.htm, to each
of these pages and have it open appropriately. We will work with
the prodMagnet.htm page.
You should get the following dialog window/form. |
All of the rest of the links can be created using a similar process once you have created each of the product pages. |