|
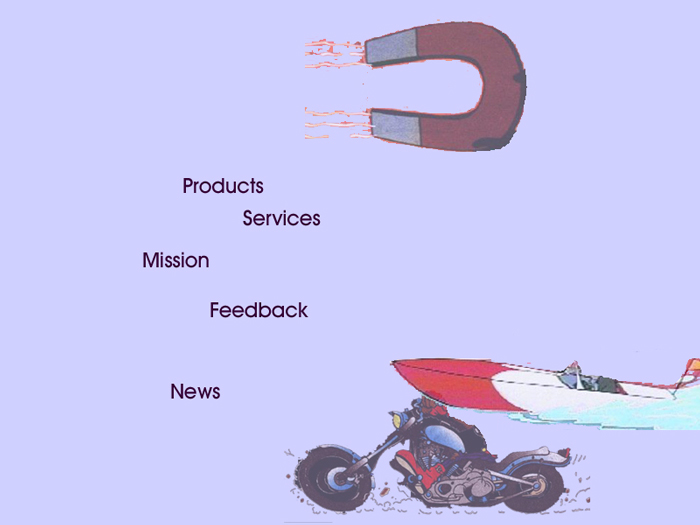
Some Background. Now we want to start developing the index or home page. Remember we are going to have the same top and bottom borders. We also want to develop the left border that will be common to all of our pages. We also want the index page to present some overall image for the company. We are going to use some sort of collage of some of our products with some hotspots. So we are about to start modifying the page index.htm. The Collage. I will not take you through developing our index page collage, instead you will only need to copy this image into your web and then add hotspots. I've kept it very simple and only added a bit of transparency to the images. To make it a bit more sophisticated I would probably add some animation to the motorcycle and/or speedboat. We will need to add hotspots to the image. The ACMECollage.jpg follows. |
| In order to get the background color to match you will need to use the following ACMEBackBlue.jpg for the background image. |

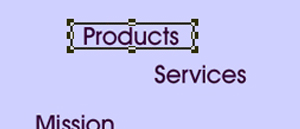
Now you want to add hotspots to
the collage. This will allow the user to click on a location that
will link them to another page. You are going to want to create
hotspots for
You should remember that these are not words in a table, they are words or pixels on an image. When creating hotspots, you could just as easily use any sort of region on an image as a link. For example, if you had regional offices with webs you could have a map where the user could click on the region to link to the appropriate web. Creating Hotspots. In order to create a hotspot for the Products you need to work through the following steps. The process for the other hotspots will be very similar.
The hotspots portion of the toolbar is represented below. |
|
In case you don't remember they represent rectangular, oval, polygonal and highlighting hotspots. We will make use of rectangular hotspots.
|
|
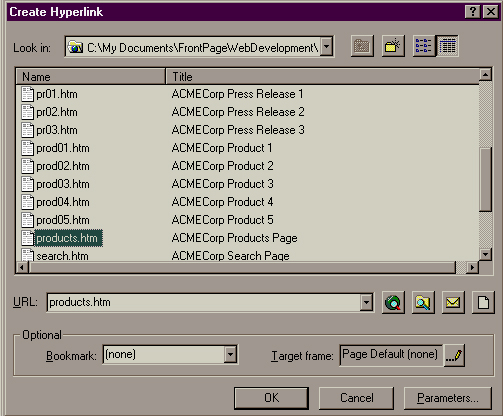
Now you want to do this as appropriate for the other hotspots. Creating the Common Left Border. Now we are going to work on the image that we will use as the common left border for all of our pages. We could use a table, but I have created an image that we will use. The QuickReference.gif image is below. |

| I have given it a transparent
background so that it will work rather seamlessly on all of our
pages. Now you need to copy
this into the ACME corporate web that you are developing and insert
it into the common left border. I could have developed a spiffier
image but I wanted to keep it simple and clean, which are usually two of
the most important web design concepts. Obviously, I could have
used other words or links in either the collage or QuickReference. You also need to make sure you develop the rectangular hotspots. |